Learn how to fix the D Pad on your PS5 controller with our comprehensive guide. Discover common issues, step-by-step repair instructions, and preventive maintenance tips.
The D-Pad on a PS5 controller is crucial for precise control in many games. When it malfunctions, it can severely impact your gaming experience. Understanding how to fix the D-Pad can save time and money, ensuring your controller works flawlessly.
Common Issues with PS5 Controller D Pad
The PS5 controller D-Pad can suffer from several issues:
- Sticking Buttons: This occurs when debris or residue builds up around the D-Pad, causing it to stick.
- Unresponsive D Pad: This can happen due to worn-out conductive pads or internal damage.
- Drift Issues: When the D-Pad registers input without being pressed, it’s often due to sensor problems.
Tools and Materials Needed for Repair
Before starting any repair, gather the necessary tools and materials:
- Precision screwdrivers
- Cleaning solutions (isopropyl alcohol, contact cleaner)
- Cotton swabs
- Replacement parts (conductive pads, D-Pad sensors)
- Tweezers
- Microfiber cloth
Safety Precautions
Ensure safety by:
- Discharging Static Electricity: Touch a metal object or use an anti-static wrist strap to avoid damaging internal components.
- Avoiding Damage to Internal Components: Handle the internal parts carefully to prevent damage.
Step-by-Step Guide to Fix a Sticking D Pad
- Disassembly:
- Remove screws from the back of the controller.
- Gently pry open the casing using a plastic tool.
- Cleaning:
- Use isopropyl alcohol and a cotton swab to clean around the D-Pad.
- Ensure no residue is left.
- Reassembly:
- Carefully put the controller back together.
- Replace screws and test the D-Pad.
Step-by-Step Guide to Fix an Unresponsive D-Pad
- Diagnosing the Problem:
- Open the controller as described above.
- Check the conductive pads for wear and tear.
- Replacing Conductive Pads:
- Purchase new conductive pads.
- Replace the old pads with new ones, ensuring proper alignment.
- Reassemble the controller and test the D-Pad.
Step-by-Step Guide to Fix D Pad Drift
- Calibrating the Controller:
- Use the PS5 system settings to recalibrate the controller.
- Replacing the D-Pad Sensor:
- Open the controller.
- Locate and replace the faulty D-Pad sensor with a new one.
- Reassemble and test the D-Pad.
How to Clean Your PS5 Controller D-Pad
- External Cleaning:
- Use a microfiber cloth and mild cleaning solution to wipe the exterior.
- Internal Cleaning:
- Open the controller and clean internal parts with isopropyl alcohol and cotton swabs.
When to Consider Professional Repair Services
- Assessing the Damage:
- If the issue persists despite multiple repairs, consider professional help.
- Finding a Trusted Repair Service:
- Look for authorized repair centers or reputable third-party services.
Preventive Maintenance for PS5 Controller D-Pad
- Regular Cleaning:
- Clean the controller regularly to prevent buildup of debris.
- Proper Storage:
- Store the controller in a dust-free environment.
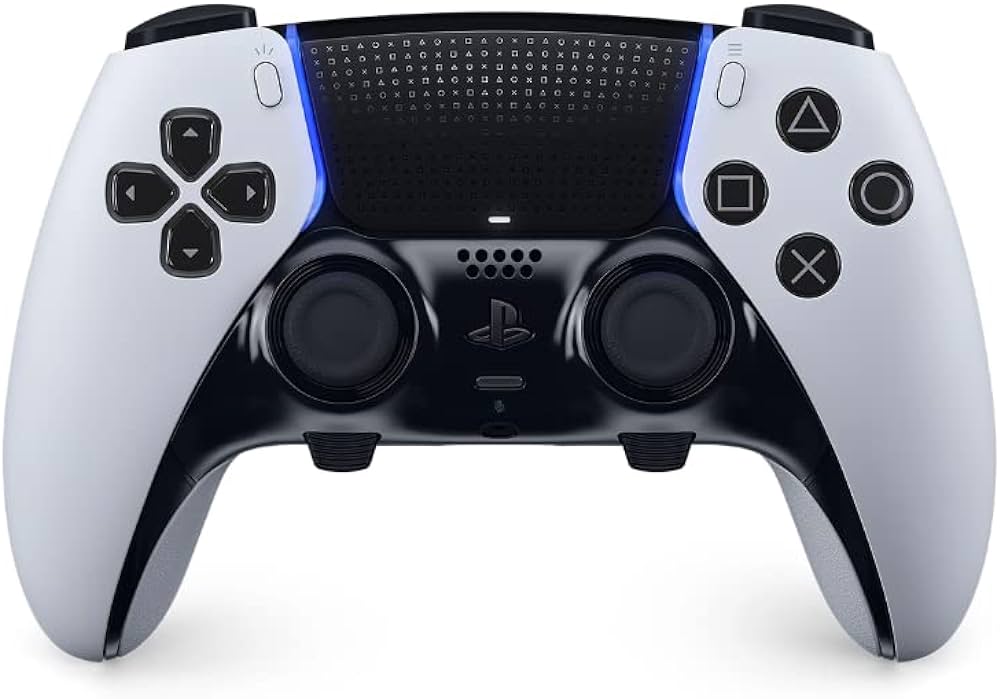
Understanding the PS5 Controller Design
- Anatomy of the D-Pad:
- The D-Pad consists of a cross-shaped button that interacts with internal conductive pads.
- How It Works:
- Pressing the D-Pad completes a circuit that registers the input.
Common Mistakes to Avoid During Repair
- Using the Wrong Tools:
- Use precision tools to avoid stripping screws.
- Skipping Steps:
- Follow the repair steps meticulously to avoid further damage.
How to Source Quality Replacement Parts
- Official Sony Parts:
- Purchase parts directly from Sony or authorized dealers.
- Third-Party Options:
- Consider third-party parts for cost-effective solutions but check for quality.
Warranty Considerations
- Checking Your Warranty Status:
- Verify if your controller is still under warranty before attempting repairs.
- Impact of Self-Repair on Warranty:
- Be aware that self-repair may void your warranty.
Cost Analysis of Self-Repair vs. Professional Repair
- Price of Tools and Parts:
- Calculate the cost of tools and parts needed for self-repair.
- Professional Service Fees:
- Compare with the fees charged by professional repair services.
User Experiences and Testimonials
- Success Stories:
- Many users have successfully fixed their D-Pads with basic tools.
- Common Challenges:
- Some users find disassembly tricky without the right tools.
FAQs About PS5 Controller D Pad Repair
How do I open my PS5 controller without damaging it?
To open your PS5 controller safely, use precision screwdrivers and a plastic prying tool. Follow a detailed disassembly guide to avoid breaking any clips or components.
What can cause the D-Pad to become unresponsive?
An unresponsive D-Pad can be due to worn-out conductive pads, debris buildup, or internal damage. Identifying the exact cause requires opening the controller and inspecting the components.
Can I use household items to clean the D-Pad?
Yes, you can use household items like isopropyl alcohol and cotton swabs for cleaning. Avoid using water or other liquids that can cause damage.
How often should I clean my PS5 controller?
Regular cleaning every few months or after extended gaming sessions can prevent buildup of debris and ensure optimal performance.
Are third-party replacement parts reliable?
While many third-party parts are reliable, it’s essential to purchase from reputable sellers and check reviews. Official parts from Sony are usually more reliable but can be more expensive.
Is it worth repairing the D-Pad myself?
Self-repair can be cost-effective and rewarding if done correctly. However, if the problem persists or seems too complex, seeking professional help might be more practical.
Conclusion
Fixing the D-Pad on your PS5 controller is a manageable task with the right tools and guidance. By understanding common issues, following step-by-step repair guides, and practicing preventive maintenance, you can extend the lifespan of your controller and enjoy uninterrupted gaming.